Wow what a weekend
Polymer Pamper Play was! It was so well organised, Rebecca and Debbie had thought of everything! It was a great group of friendly and talented ladies and it was great to get to know you all a bit better. The best thing was staying all together in the same place, sharing meals together, having time to talk and being able to play with our clay before breakfast, in the middle of the night.... Wonderful! There are some pictures from the event on the Polymer Pamper Play website
here.
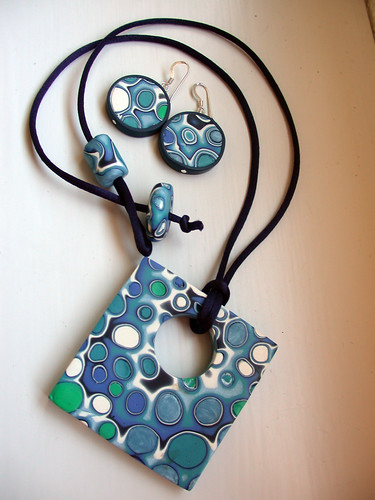
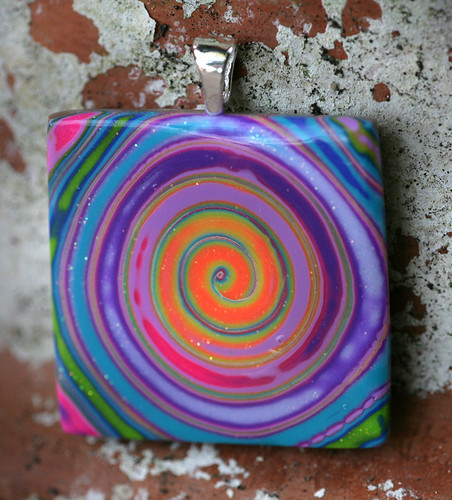
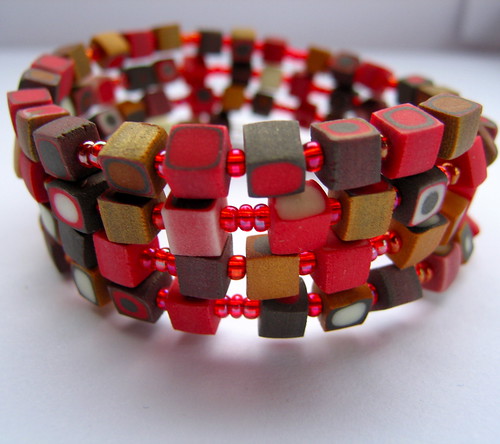
Here's some of what I made in the workshops
 |
| Carol Blackburn's Ikat beads workshop. |
 |
| My favourite two pieces, I think you will be seeing more like these! |
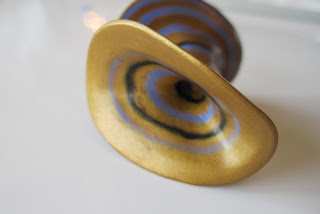 |
| Christine Dumont's Butterfly Bead Workshop |
 |
| Christine Dumont's Butterfly Bead Workshop |
Another inspiration came from my dear friend Toni's top -I shalln't embarrass her with a photo of her but here's her top
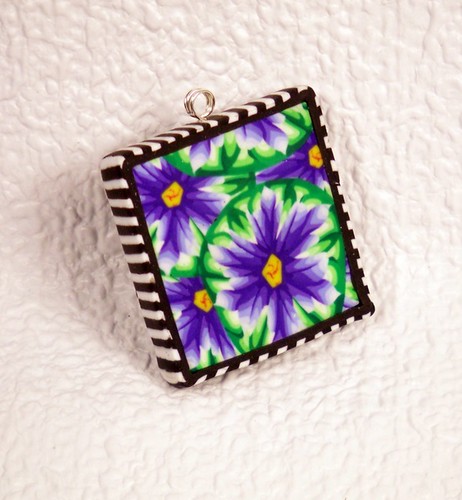
Here's the pendant I made at the event
I wasn't happy with how the cane worked out - once I had started on a small element I realised quite the scale of it and dramatically simplified it. I made a construction error and due to the warmth in the room wasn't able to pull the pieces apart (you often can with Kato) so had to reduced the irregular shaped petals fully constructed which lead to a lot of distortion. I like the overall effect of it and can't wait to make some more black and white flower canes!
If you live in the UK you really should come to the 2012 Polymer Pamper Play, it really was blissful on all levels as advertised! Thank you so much Rebecca and Debbie for organising it, can't wait til next year!